
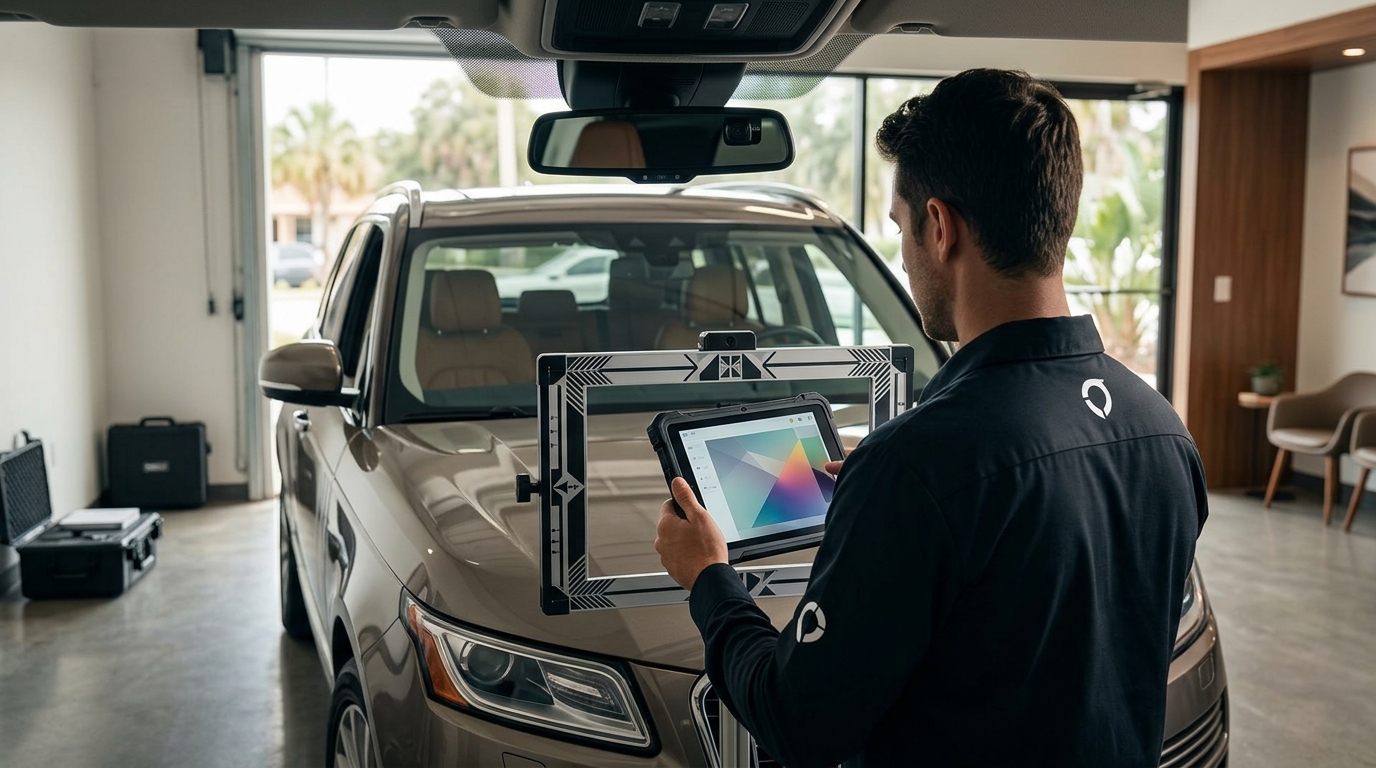
Modern vehicles rely heavily on Advanced Driver Assistance Systems (ADAS) to maintain safety and operational efficiency. According to the Insurance Institute for Highway Safety, vehicles equipped with forward collision warning systems see a 50% reduction in rear-end crashes. However, this safety benefit disappears if the system is misaligned. After a windshield replacement, the camera mounted behind the rearview mirror must be recalibrated to match the original equipment manufacturer (OEM) specifications. Failure to perform this calibration can result in false alarms or, worse, a failure to detect obstacles when you need it most. (Contact Optic Kleer)
Understanding ADAS and Windshield Integration
ADAS Calibration is the process of aligning the vehicle's sensors and cameras to ensure they function correctly. ADAS Calibration is the precise alignment of sensor arrays to restore factory specifications. Modern windshields are not just safety glass; they are structural components that house critical technology. The windshield acts as a lens for cameras that monitor lane departure, traffic signs, and pedestrian detection.
When a windshield is replaced, even a millimeter of misalignment in the new glass can throw off the entire system. The camera must be positioned exactly where the manufacturer intended. If the glass is installed incorrectly or the camera is not recalibrated, the system may interpret the road incorrectly. This can lead to sudden braking, lane drift warnings, or a complete shutdown of safety features. At Optic-Kleer, we treat calibration as a critical safety step, not an optional add-on. Our technicians are trained to handle these complex electronic systems with precision.
Step 1: Vehicle Preparation and Environment
The first step in ensuring proper calibration is creating the right environment. Calibration requires a controlled setting to ensure accuracy. Environmental control is the foundation of accurate sensor alignment. Technicians must ensure the vehicle is parked on a level surface. This is non-negotiable because any tilt in the vehicle's chassis will skew the camera's angle.
Checking Vehicle Load and Tire Pressure
Before beginning the process, the vehicle's load must be standardized. If the trunk is full of heavy items or the car is carrying passengers, the suspension will compress, changing the vehicle's pitch. Technicians often add ballast to the trunk to simulate a normal driving load. Additionally, tire pressure must be checked and adjusted to the manufacturer's recommended PSI. Uneven tire pressure can cause the vehicle to lean, which again, affects the camera's baseline angle.
Ensuring Proper Lighting Conditions
Lighting plays a crucial role in both static and dynamic calibration. For static calibration, the target boards or patterns must be clearly visible to the camera. This usually requires a well-lit garage or an outdoor area with consistent, diffuse lighting. Direct sunlight can cause glare, while low light can prevent the camera from locking onto the targets. Optic-Kleer locations are equipped with professional lighting rigs to ensure optimal visibility for the sensors during the calibration process.
Step 2: Static Calibration Procedures
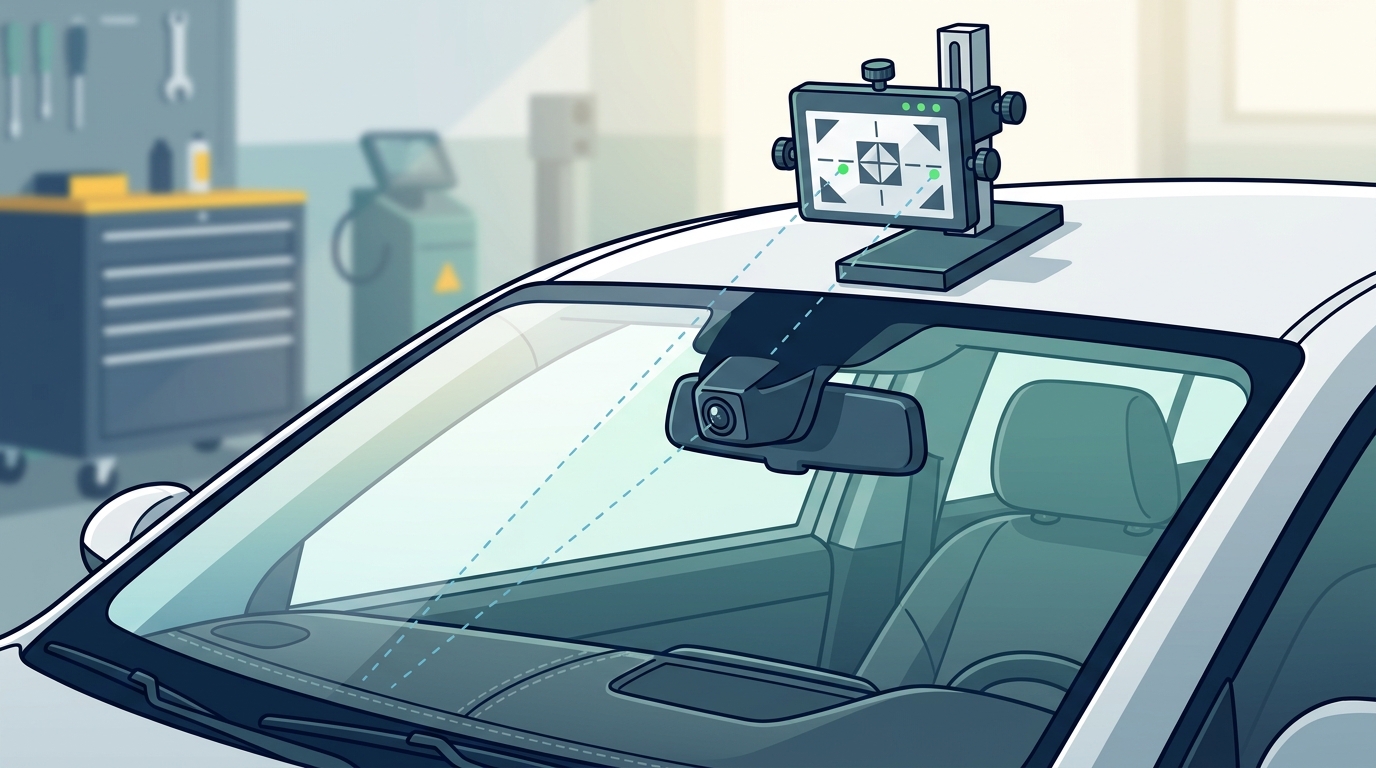
Static calibration is performed while the vehicle is stationary. This method uses physical targets or patterns placed at specific distances and angles from the vehicle. Static calibration utilizes physical targets to align the camera to factory angles. This method is common for many vehicles, especially those with cameras mounted on the windshield.
Positioning Calibration Targets
Technicians place calibration targets on the wall or floor in front of the vehicle. These targets are specific to the make and model of the car. The distance and height of the targets are calculated based on the vehicle's dimensions and the camera's field of view. Using a measuring tape or laser level, the technician ensures the targets are positioned with millimeter precision. Any error in placement here will result in a failed calibration.
Connecting Diagnostic Tools
Once the targets are in place, the technician connects a specialized diagnostic tool to the vehicle's OBD-II port. This tool communicates with the vehicle's computer to access the ADAS settings. The technician initiates the calibration mode, which often requires the vehicle to be in a specific gear with the parking brake engaged. The diagnostic software guides the technician through the process, providing real-time feedback on the camera's alignment.
Step 3: Dynamic Calibration on the Road
Dynamic calibration, also known as road calibration, involves driving the vehicle to allow the system to learn its environment. Dynamic calibration requires driving to teach the system its new physical baseline. This method is often used for systems that rely on forward-facing cameras to monitor lane markings and traffic signs.
Driving Conditions and Requirements
Not every road is suitable for dynamic calibration. The vehicle must be driven on a straight, flat road with clear lane markings. The weather should be dry and visibility should be good. Technicians follow a specific driving protocol, which may include accelerating to a certain speed, maintaining a steady course, and making gentle turns. The diagnostic tool monitors the camera's input during this drive to ensure the system is correctly interpreting the lane markings.
Monitoring System Feedback
During the drive, the technician watches the diagnostic tool for any errors or warnings. If the system fails to lock onto the lane markings, the calibration may need to be adjusted. This might involve repositioning the vehicle or adjusting the camera angle slightly. The process is iterative, requiring careful attention to detail to ensure the system is fully calibrated.
Step 4: System Verification and Testing
After the calibration process is complete, verification is the final step. Verification ensures the ADAS system functions exactly as designed. This step confirms that the system is ready to protect the driver and passengers.
Functional Testing
Technicians perform a series of functional tests to ensure each ADAS feature is working correctly. This may include testing the forward collision warning, automatic emergency braking, and lane departure warning systems. The technician may simulate scenarios to trigger these warnings and ensure they activate at the correct distance and intensity.
Clearing Diagnostic Codes
Once the tests are complete, any diagnostic trouble codes (DTCs) related to the ADAS system are cleared. The technician then performs a final scan to ensure no new codes have appeared. If the system reports no errors, the calibration is considered successful. Optic-Kleer provides documentation of the calibration process, including any adjustments made, to ensure transparency and accountability.
Why Professional Calibration is Non-Negotiable
Attempting to calibrate ADAS systems without proper training and equipment is risky. Professional calibration guarantees accuracy and safety compliance. Incorrect calibration can lead to serious safety issues, including false alarms or failure to detect hazards. At Optic-Kleer, we use cutting-edge tooling and urethane to ensure both the glass installation and the calibration are performed to the highest standards. Our technicians are fully trained and certified to handle these complex systems.
Furthermore, many vehicle manufacturers require professional calibration to maintain the vehicle's warranty. If the calibration is not performed correctly, the manufacturer may deny warranty claims related to the ADAS system. By choosing a certified provider like Optic-Kleer, you ensure that your vehicle's safety systems are restored to factory specifications.
Key Takeaways
- ADAS Calibration is the precise alignment of sensor arrays to restore factory specifications. It is essential after any windshield replacement.
- Static calibration utilizes physical targets to align the camera to factory angles. This method requires precise placement of targets in a controlled environment.
- Dynamic calibration requires driving to teach the system its new physical baseline. This involves driving on specific roads with clear lane markings.
- Verification ensures the ADAS system functions exactly as designed. Functional testing and code clearing are critical final steps.
- Professional calibration guarantees accuracy and safety compliance. DIY attempts can void warranties and compromise safety.
- Optic-Kleer has been repairing and calibrating auto glass since 1991, ensuring decades of expertise.
- Our technicians are fully trained and certified to industry standards, holding your safety in expert hands.
Frequently Asked Questions
How long does ADAS calibration take?
Calibration time varies depending on the vehicle and the method used. Static calibration can take 1 to 2 hours, while dynamic calibration may require an additional 30 to 60 minutes of driving. Optic-Kleer provides accurate estimates at the time of scheduling.
Can I drive my car immediately after windshield replacement?
It is not recommended to drive the vehicle until the ADAS system has been calibrated. Driving with a misaligned system can be dangerous and may cause the system to malfunction. Our technicians will advise you on the next steps once the calibration is complete.
Do all windshields require ADAS calibration?
Not all windshields require calibration. However, if your vehicle has a camera or sensor mounted on or near the windshield, calibration is almost always required. Optic-Kleer technicians will assess your vehicle to determine if calibration is necessary.
What happens if ADAS calibration is not performed?
If calibration is not performed, the ADAS features may not work correctly. This can lead to false warnings, failure to detect obstacles, or complete system shutdown. This compromises your safety and the safety of your passengers.
Does insurance cover ADAS calibration?
In many cases, insurance covers ADAS calibration as part of the windshield replacement claim. Coverage details vary by policy, and Optic-Kleer can help verify your benefits. We deal directly with all major auto insurance companies to streamline the process.
How often should ADAS systems be checked?
ADAS systems should be checked whenever the windshield is replaced or if the camera position is disturbed. Regular maintenance checks during routine service visits can also help ensure the system remains aligned.
Can ADAS calibration be done at home?
While some DIY kits exist, they are not recommended for most vehicles. Professional calibration requires specialized equipment and expertise to ensure accuracy. Optic-Kleer offers mobile service to bring professional calibration to your location.
Schedule Your Calibration Today
Do not compromise your safety with improper calibration. Trust Optic-Kleer to restore your vehicle's ADAS systems to factory specifications. Our certified technicians are ready to provide prompt, professional service. Find your nearest Optic-Kleer location to schedule your appointment today. We offer both in-shop and mobile services to fit your busy schedule. Contact us at (817) 775-3335 for more information.